Fieldcraft · Practical UK birdwatching
How to photograph birds responsibly
Choose the bird’s welfare and a permitted viewpoint before composing the photograph. A good session leaves feeding, resting and breeding activity undisturbed and gives other visitors room to enjoy the view.
How to choose a responsible bird photograph
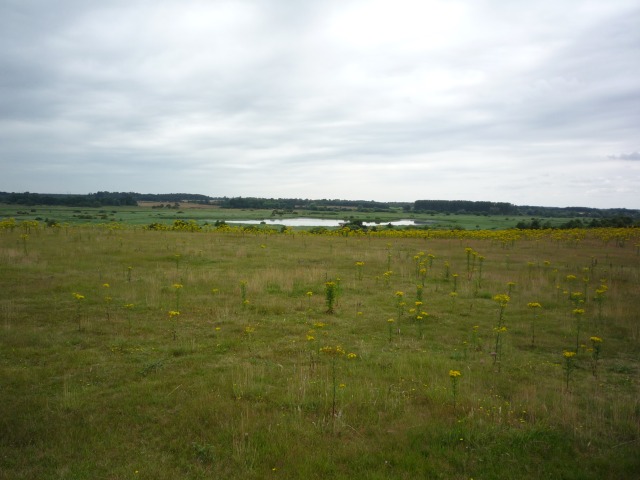
Start by watching without the camera raised. Establish what the bird is doing, whether it has a clear route to cover or water and where you can stand within the visitor rules. Decide on a composition that works from that position. Our choice is often a wider picture showing the bird in its habitat. It can tell a fuller story than a close portrait and removes the pressure to make every subject fill the frame.
Check the reserve’s photography rules and follow any instructions from staff. Hides, barriers and marked paths help make people predictable; they are part of the photograph’s starting conditions. Keep equipment within your space and avoid obstructing low windows or seats needed by other visitors. A long lens does not give priority over binocular users, and a small camera can make a meaningful picture without a close approach.
How to judge distance and bird behaviour
Watch for interrupted feeding, repeated alarm calls, a bird moving away or a visible change that follows your approach. Stop and increase space when your presence affects it. Do not wait for flight before recognising the problem. Some birds remain still when uncomfortable, so combine behaviour with the reserve’s distance and access instructions. The position that worked for another species or another day may be unsuitable for the bird in front of you.
Avoid edging forward after every photograph. Set a limit using the permitted viewpoint and let the bird choose its own movement. Never block a route to a burrow, nest or resting area, and do not follow an individual away from the public trail. BTO’s Birders’ Code applies equally to photographers and other birdwatchers. A view you decide to leave untaken can be the most useful decision of the session.
Why nests, playback and baiting need restraint
Keep breeding photography to the operator’s established public viewpoints or guided arrangements. Do not investigate a nest concealed beside a path, cut vegetation for a clearer angle or publish directions to sensitive breeding birds. An adult carrying food needs room to complete its journey. If people are delaying it, move away calmly and follow any staff instruction. A photograph of a feeding bird elsewhere can be rewarding without adding pressure at the nest.
Do not use playback or place food to manufacture a closer wildlife encounter. Avoid flash and intrusive lights around birds. At a managed feeding facility, follow the operator’s rules rather than adding your own bait or perches. Never handle a bird or change its surroundings to improve the frame. For an uncertain situation, ask the reserve team about a suitable public opportunity and accept that the appropriate answer may be to choose another subject.
Practise it here: photographs with space around them
At RSPB Minsmere, choose an authorised view and compose one photograph that includes water, vegetation and the bird’s position within them. Keep watching after taking it so that the image connects with behaviour. At RSPB Leighton Moss, try the same exercise through a permitted viewing opening without rearranging the hide space. The reserve guides explain access and facilities; select a viewpoint that works for your equipment and mobility.
At RSPB Bempton Cliffs, remain behind the barriers and build the composition from the official visitor viewpoints. Accept the angle available instead of leaning beyond a safe position. WWT Slimbridge gives another setting for practising waterbird photographs from established visitor areas. Separate photographs of captive collection birds from observations of wild birds when describing the visit. Across all four choices, aim for a useful account of the habitat rather than a claim about how close you got.